
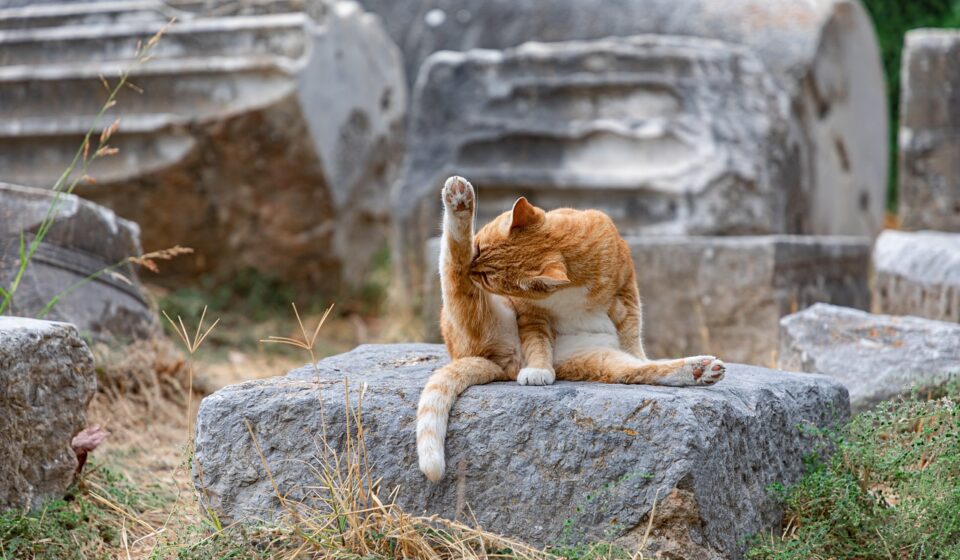

How to clean cat ears: Why Your Cat's Ears Need Attention
Most cat owners know the basics of feline grooming, but ear care often gets overlooked. As of July 2026, it’s crucial to remember that clean ears are healthy ears, and a simple cleaning routine can prevent a host of uncomfortable issues for your furry friend. Understanding how to clean cat ears safely is essential for their overall well-being.
Last updated: July 12, 2026
Most cat owners know the basics of feline grooming, but ear care often gets overlooked. As of July 2026, it’s crucial to remember that clean ears are healthy ears, and a simple cleaning routine can prevent a host of uncomfortable issues for your furry friend. Understanding how to clean cat ears safely is essential for their overall well-being.
Key Takeaways
- Regularly check your cat’s ears for signs of dirt, wax buildup, or infection.
- Use a vet-approved ear cleaner and soft cotton balls or gauze; avoid Q-tips in the ear canal.
- Introduce cleaning gradually to help your cat get accustomed to the process.
- Recognize signs of ear problems, such as head shaking, scratching, redness, or discharge.
- Consult your veterinarian if you notice any concerning symptoms or are unsure about cleaning.
When Do Cat Ears Need Cleaning?
Not all cats need their ears cleaned regularly. Many cats are fastidious groomers, and their ear canals are designed to stay relatively clean on their own. However, certain breeds, like those with long, floppy ears (though less common in cats than dogs), or cats prone to allergies or ear infections, might require more frequent attention. As a general rule, it’s best to check your cat’s ears weekly as part of their grooming routine.
Signs that indicate your cat’s ears need cleaning include visible dirt or debris, excessive wax buildup, a foul odor emanating from the ears, or if your cat is frequently shaking their head or scratching at their ears. Redness, swelling, or discharge are also critical indicators that professional veterinary attention may be needed, rather than a simple cleaning at home.

Gathering Your Supplies: What You’ll Need
Before you begin the process of how to clean cat ears, ensure you have the right tools. Using incorrect items can harm your cat’s sensitive ears. You’ll need a veterinarian-approved ear cleaning solution specifically formulated for cats. These solutions help break down wax and debris safely. Avoid using water, rubbing alcohol, or hydrogen peroxide unless explicitly directed by your vet, as these can irritate or damage the ear canal.
You’ll also need soft cotton balls, cotton pads, or clean gauze squares. These are for wiping away debris and cleaner from the outer ear and visible parts of the canal. It’s crucial to avoid cotton swabs (like Q-tips) because they can easily push debris further into the ear canal or even damage the eardrum. Keep some high-value treats handy to reward your cat for their cooperation!
Step-by-Step: How to Clean Your Cat’s Ears
Cleaning your cat’s ears doesn’t have to be a battle. With patience and the right technique, most cats can tolerate this necessary grooming task. Here’s a breakdown of how to clean cat ears effectively:
- Choose the Right Time: Pick a moment when your cat is relaxed, perhaps after a meal or a nap. Avoid trying to clean their ears when they are stressed or playful.
- Secure Your Cat Gently: Have a helper if possible, or gently hold your cat in your lap, ensuring they feel secure. Some cats do best wrapped loosely in a towel, with just their head exposed.
- Prepare the Cleaner: Warm the ear cleaner solution slightly by holding the bottle in your hand for a few minutes. This makes it more comfortable for your cat.
- Apply the Solution: Gently pull back your cat’s ear flap to expose the ear canal. Administer the recommended amount of cleaning solution directly into the ear canal. Don’t probe deep into the ear.
- Massage the Base: Gently massage the base of the ear for about 20–30 seconds. You should hear a squishing sound, indicating the solution is working its way down the canal.
- Wipe Away Debris: Allow your cat to shake their head; this helps dislodge loosened debris. Then, use a cotton ball or gauze pad to gently wipe away any visible dirt and excess solution from the outer ear and the entrance of the canal. Again, never insert anything into the ear canal itself.
- Repeat on the Other Ear: Follow the same steps for the other ear.
- Reward Your Cat: Offer praise and treats immediately after cleaning to create a positive association with the experience.
Mistakes to Avoid When Cleaning Cat Ears
Many well-intentioned owners make common mistakes when attempting to clean their cat’s ears. One of the most frequent errors is over-cleaning. Unless your vet advises otherwise, cleaning once or twice a month is usually sufficient for cats without specific ear issues. Daily cleaning can strip natural oils and lead to irritation, making the ears more susceptible to infection.
Another critical mistake is using the wrong cleaning agents. As mentioned, hydrogen peroxide, rubbing alcohol, or even plain water can be too harsh. These can disrupt the delicate pH balance of the ear canal. Owners sometimes push too hard or use tools like cotton swabs, which can cause pain, damage the eardrum, or push wax deeper into the ear, creating impactions. Always use gentle, circular motions and focus only on what you can see.

Tackling Stubborn Wax and Debris
Sometimes, wax and debris can be more stubborn. If you notice significant buildup that your regular cleaning isn’t removing, don’t force it. Your veterinarian can prescribe a more potent ceruminolytic solution designed to break down hardened wax. These solutions typically require leaving them in the ear for a set period, followed by a gentle massage and wiping, much like the regular cleaning process but with a stronger formulation.
In some cases, a professional cleaning under sedation might be necessary, especially if the cat is highly resistant or if the buildup is severe, potentially indicating an underlying health issue. According to the American Veterinary Medical Association (AVMA) in 2026, approximately 15-20% of cats presented for routine check-ups show mild ear wax accumulation that could benefit from targeted treatment.
When to Call the Vet: Signs of Infection or Mites
It’s vital to distinguish between normal ear wax and signs of a problem. Ear infections and ear mites require veterinary diagnosis and treatment. Watch out for symptoms such as excessive head shaking or tilting, persistent scratching at the ears, a strong unpleasant odor, redness or swelling inside the ear, or any discharge that’s dark brown, black, yellow, or bloody. A cat might also seem sensitive to touch around their head or ears.
Ear mites, microscopic parasites, are a common cause of ear irritation in cats. They produce a dark, crumbly discharge that resembles coffee grounds. If you suspect ear mites or an infection, don’t attempt to clean the ears aggressively. This could worsen the condition. Instead, schedule an appointment with your veterinarian for proper diagnosis and treatment. They can identify the cause and prescribe appropriate medication, such as antibiotics, antifungals, or mite treatments.
How Often Should I Clean My Cat’s Ears?
The frequency of ear cleaning depends heavily on the individual cat. For most healthy cats with no history of ear problems, a visual inspection once a week and cleaning only when necessary (i.e., when you see dirt or wax buildup) is sufficient. This might mean cleaning their ears only once every few months, or even less.
Cats with allergies, recurring ear infections, or those with ear mites will require more frequent cleaning, as directed by your veterinarian. For example, a cat with allergies might need their ears cleaned weekly or bi-weekly to prevent secondary infections. Always follow your vet’s specific recommendations for your cat’s ear care regimen. The goal is to maintain ear health without causing irritation through excessive cleaning.
Tips for Calming Your Cat During Cleaning
Getting your cat to cooperate with ear cleaning is often about building positive associations and making the experience as stress-free as possible. Start by introducing the cleaning solution bottle and cotton balls during calm moments, letting your cat sniff them without any pressure. Offer a treat simply for being near the supplies.
When you’re ready to clean, work in short sessions. If your cat becomes agitated, stop and try again later. Some cats respond well to gentle petting and soft, reassuring words throughout the process. If your cat is particularly anxious, consider using a calming pheromone spray or consult your vet about over-the-counter calming supplements. Remember, a little patience goes a long way in making ear cleaning a manageable part of your cat’s grooming routine.
Frequently Asked Questions About Cat Ear Cleaning
Can I use baby wipes to clean my cat’s ears?
Baby wipes are generally not recommended for cleaning inside a cat’s ear canal. They may contain fragrances or chemicals that can irritate the delicate skin. Stick to vet-approved ear cleaners and soft cotton balls or gauze for the best results.
What does cat ear wax look like?
Normal cat ear wax is typically light brown and waxy, appearing in small amounts. Dark brown, black, or yellowish discharge, especially if it’s crumbly or accompanied by a foul odor, could indicate an infection or ear mites and requires veterinary attention.
How often should I check my cat’s ears?
It’s a good practice to visually inspect your cat’s ears at least once a week. How to clean cat ears allows you to catch any signs of dirt, wax buildup, redness, or discharge early, before they become serious problems.
Can cleaning my cat’s ears hurt them?
Yes, cleaning improperly can hurt your cat. Inserting objects deep into the ear canal, using harsh chemicals, or being too rough can cause pain, damage the eardrum, or lead to infections. Always follow gentle, recommended cleaning techniques.
Are there natural remedies for cleaning cat ears?
Some natural ingredients might be suggested, but it’s crucial to use only vet-approved products. Ingredients not formulated for feline ears can cause irritation or be toxic. Always consult your veterinarian before trying any home remedies.
My cat sneezes when I clean its ears, is that normal?
A mild sneeze can sometimes occur when cleaning the ear canal, as the nerves in the ear are connected to the nasal passages. However, frequent or forceful sneezing could indicate the cleaner is irritating them or being introduced too deeply. Monitor your cat closely.
Keeping Your Cat’s Ears Healthy
Understanding how to clean cat ears is a simple yet crucial skill for any cat owner. By regularly checking your cat’s ears, using appropriate supplies, and employing gentle techniques, you can effectively manage their ear hygiene and prevent common issues. Remember, when in doubt, always consult your veterinarian for personalized advice and treatment options for your feline companion.
Last reviewed: July 2026. Information current as of publication; pricing and product details may change.
Source: Britannica
Related Articles
- Cat White Frothy Vomit: Causes, Concerns, and When to See a
- Can Dogs Have Mango? Your 2026 Safety & Nutrition Guide
- DIY Dog Treats: Easy & Healthy Recipes for Your Furry
Editorial Note: This article was researched and written by the Pet Magazine editorial team. We fact-check our content and update it regularly. For questions or corrections, contact us. For readers asking “How to clean cat ears”, the answer comes down to the specific factors covered above.
Related read: Do Cats Have Eyelashes in 2026? The Surprising Truth.
About The Author